Direct arterial blood sampling
 Continuous arterial blood pressure monitoring
CONTRAINDICATIONS
 Absolute: None
 Relative Contraindications
 Coagulopathy or recent thrombolysis
 Overlying infection, burn, or skin damage
 Severe peripheral atherosclerosis
RISKS/CONSENT ISSUES
 Thrombosis and occlusion of the vessel are common (30%–40%) but almost all resolve spontaneously without requiring intervention, and ischemic complications are rare/case-reportable
 Risk of bleeding and infection are low
 General Basic Steps
 Position patient
 Locate radial artery
 Anesthetize
 Perform procedure
LANDMARKS
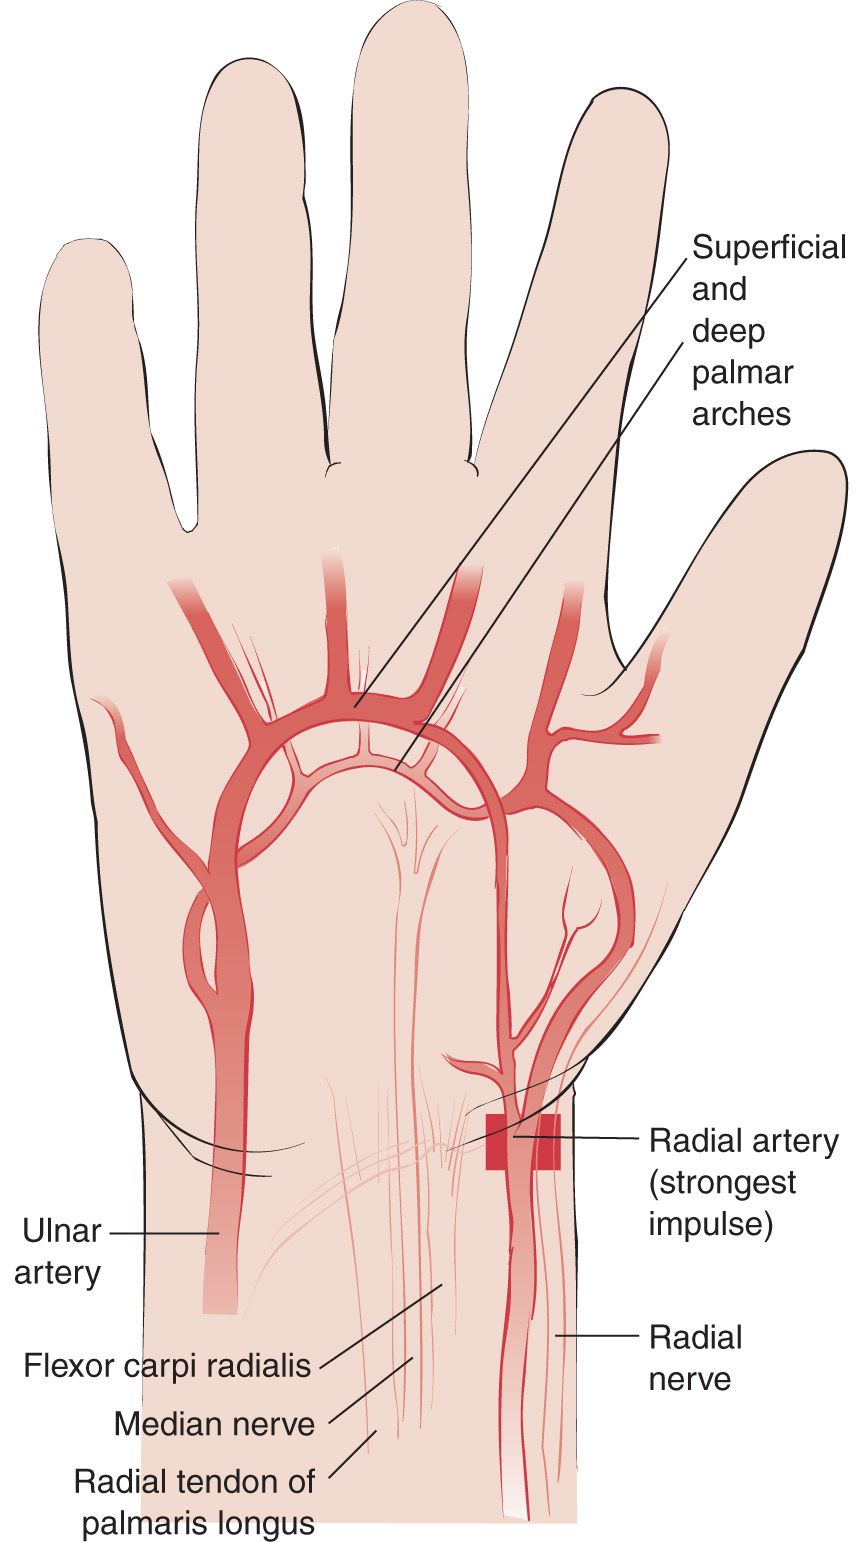
 Radial artery cannulation site is just medial and proximal to the radial styloid on the volar surface of the wrist
TECHNIQUE
 Position the patient’s supinated wrist in 60 degree of extension. Placement of a gauze or towel under the dorsal surface of the wrist and taping the wrist in extension may facilitate positioning.
 Prepare and drape the area in a sterile manner
 Anesthetize the skin over the radial artery with a small wheal of 1% lidocaine
 Open the packaging and remove unit. Remove the protective shield. To ensure proper feeding, advance and retract the spring-wire guide through the needle via the lever. Then retract the wire proximally as far as possible before using.
 Palpate the course of the artery with the middle and index fingers of the nondominant hand. Hold the needle at a 45-degree angle to the skin, pointing cephalad, and puncture the skin. Advance the needle until a flash of bright red blood is seen in the clear hub of the needle.
 Decrease the angle of the needle to 20 degrees and advance the guidewire (via actuating lever) into the artery. Do not force the wire if resistance is encountered.
 Hold the clear transducer needle and advance the catheter forward into the vessel. A rotating motion can be applied to the catheter if resistance is encountered (FIGURES. 27.1 and 27.2).
 Holding the catheter in place, remove the introducer needle, guidewire, and feed tube assembly. Pulsatile flow indicates successful cannulation.
 Attach a stopcock and injection tubing to the catheter hub. Suture into place. Apply dressing.
Related posts:



Stay updated, free articles. Join our Telegram channel

Full access? Get Clinical Tree