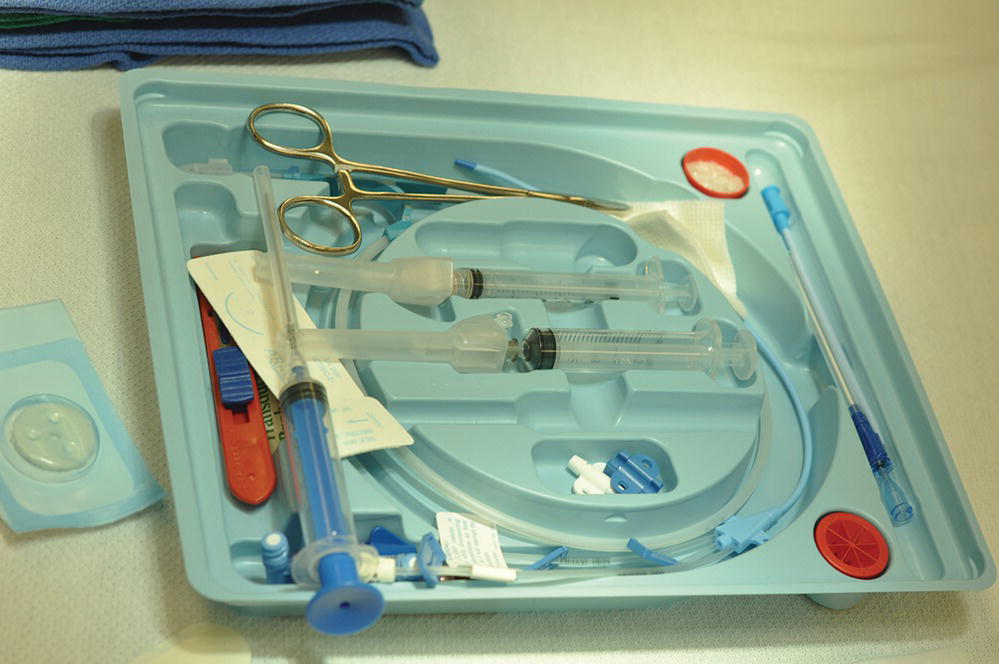
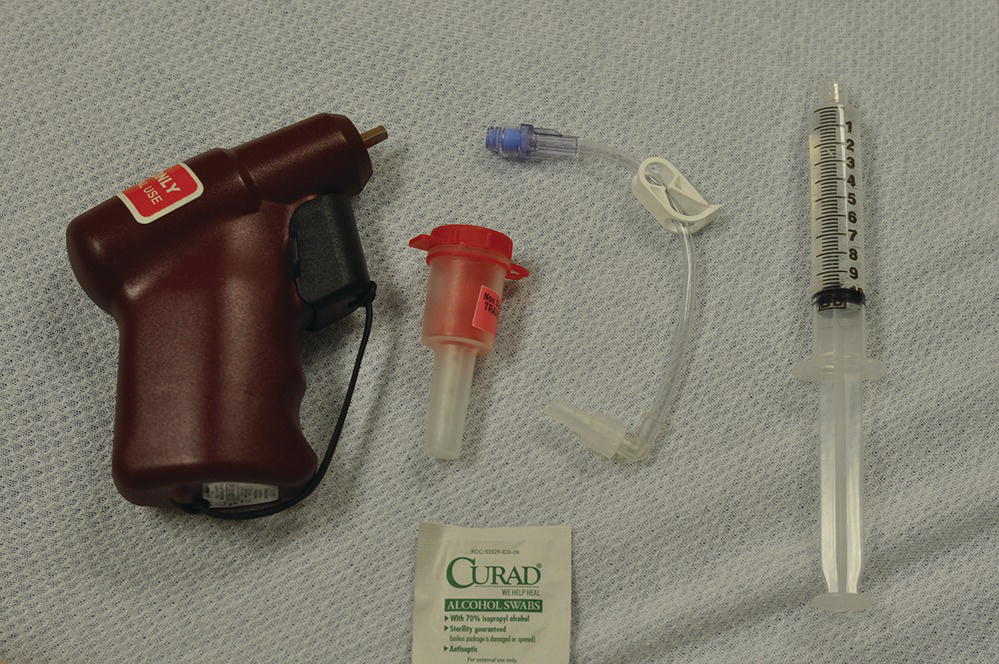
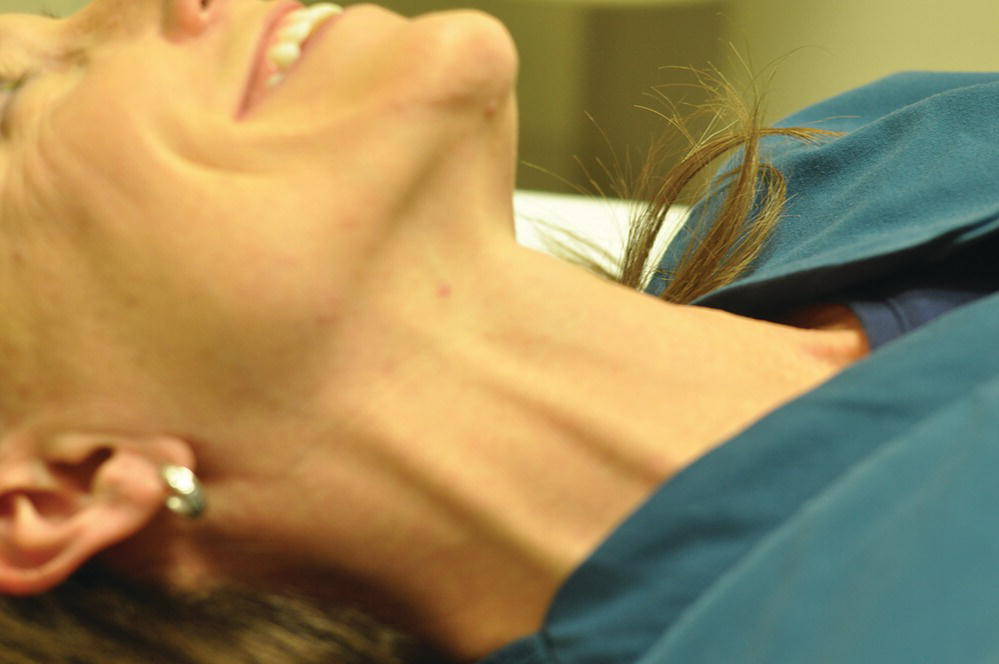
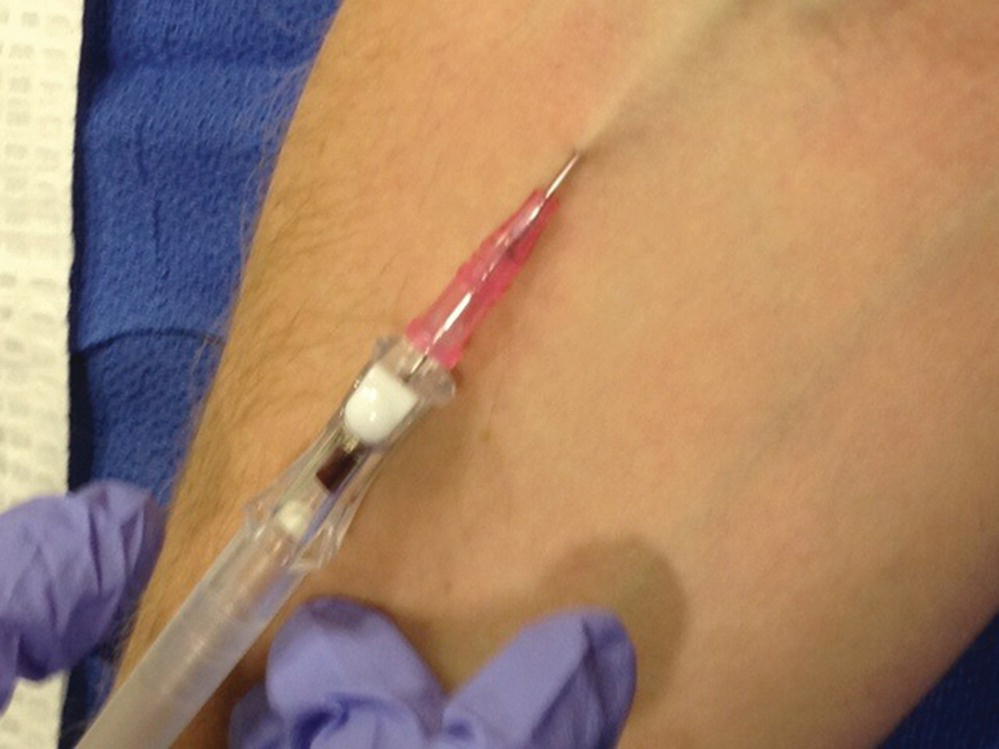
Chapter 8 Jocelyn M. De Guzman, Bryan B. Kitch, and Jeffrey D. Ferguson While discussions continue concerning the utility of obtaining prehospital vascular access, the skill remains a standard taught to EMS providers. Methods of access include peripheral and central intravenous (IV) catheterization and intraosseous (IO) access, depending on the local scope of practice and the qualifications of prehospital personnel. The medications and fluids administered through these various routes depend on local EMS protocol and the practices of the EMS medical director. Those specifics are beyond the scope of this chapter, but are discussed elsewhere in this text. Similar to its benefit in the emergency department (ED) or any other acute care setting, vascular access provides an avenue for medical intervention by the EMS provider. Early prehospital initiation of treatment for cardiac arrest, cardiac arrhythmia, and sepsis has been shown to be beneficial for patients [1–3]. For the more stable yet ill or distressed patient, the initiation of an IV or IO for symptomatic treatment of nausea, pain, or dehydration can help the continuum of care that will likely progress in the ED. Treatment of potentially reversible conditions like hypoglycemia and narcotic overdose in the prehospital setting can prevent deterioration of the patient’s condition and potentially negate the need for transport. Vascular access also facilitates advanced care such as rapid sequence intubation and the administration of vasopressors and thrombolytics. Obtaining vascular access involves inherent risks to the provider, including blood exposure and needlestick injury. Whether it is attempted at the scene or in transit, the prehospital environment is often characterized by poor lighting, limited space, or movement in the rear of an ambulance. This offers less than ideal conditions in which to handle lancets, IV and IO needles, and other sharps. A combative and/or confused patient can add to the difficulty. Transmission of HIV, hepatitis B, and hepatitis C remains a constant threat to the EMS provider, with the risks of infection following needlestick injury estimated at 0.3%, 6–30%, and 1.8%, respectively [4]. Consistent use of universal precautions is imperative to reduce the likelihood of occupational exposures. Potential risks to the patient include bleeding, damage to adjacent structures, infection, and thrombosis and will be discussed later. Establishing an IV is often part of EMS protocols. In many cases, protocols allow for EMS provider assessment and judgment regarding whether or not an IV is necessary. One study revealed that while over 50% of the patients who arrived at an ED via EMS had IVs in place, almost 80% of those IVs were not used in the prehospital setting. The tendency to err on the side of caution to avoid punitive measures from perceived undertreatment seemed to contribute to the discrepancy [5]. Another study similarly found that protocols seemed to drive the decision to start an IV as opposed to an actual need for administration of medicines or fluids [6]. Medical oversight is indicated to continually evaluate the appropriateness of “precautionary” IVs in the contexts of potential risks and costs to the system and to patients. Several studies in the trauma setting have unveiled a lack of significant benefit regarding prehospital vascular access. The classic EMS mantra of “two large-bore IVs” for trauma patients has been muted by concern for increased on-scene times and delay of transport to definitive medical care. Nevertheless, two studies have shown high success rates when IVs were attempted in transit without delaying transport [7,8]. However, a literature review by the Eastern Association for the Surgery of Trauma resulted in a set of practice management guidelines that found no demonstrable benefit from prehospital IV placement or IV fluid administration for either penetrating or blunt injury patients [9]. Recent research in the field of trauma resuscitation suggests that routine administration of IV fluids may have no benefit and in fact can be harmful in the prehospital setting [10,11]. Another study endorsed “scoop and run” transport for EMS as it found that each prehospital procedure before ED thoracotomy led to a reduction in the odds of survival [12]. Early records document the use of feather quills and animal bladders for intravenous therapies with animal-to-human transfusions. These were later replaced by hollow steel needles with rubber tubing leading to glass bottles. The evolution to over-the-needle plastic catheters has been focused on operator safety and patient comfort [13]. Flow rate through the catheter is based on Poiseuille’s law, dealing with pressure and resistance. The pertinent determinants of the equation include the radius of the catheter and the catheter length. Flow is directly proportional to the radius to the 4th power (r 4), and inversely proportional to catheter length. As such, a large-gauge, short IV catheter can profoundly improve the potential flow rate over a smaller gauge, longer catheter. Typical locations for peripheral IV access include the antecubital fossa, veins in the forearm and dorsum of the hand and foot, external jugular vein, and scalp veins. When the decision to pursue vascular access is made, the preparation for the procedure is just as imperative as the skill itself. Temptations for speed in the prehospital setting, assumptions regarding the patient’s health, or other neglectful behavior deviating from the practice of universal precautions can result in occupational exposure. When possible, wash hands prior to putting on gloves. Prepare the equipment (Figure 8.1). You will need an IV start kit (if available) or you can assemble your own (tourniquet, alcohol wipe or other cleaner, tape or a commercially available adhesive device). Select an IV needle with catheter (Figure 8.2), saline lock, saline flush, and/or IV fluids. Check the IV catheter for integrity. Figure 8.1 IV starting equipment. Figure 8.2 18 and 20 gauge IV catheters with needles. Prepare the patient for the procedure. When appropriate, discuss with the patient the reason for the procedure along with risks and benefits. Unless a true emergency exists or the patient is not able to make his/her own decisions, verbal consent should be obtained. Position the patient’s extremity to help straighten the desired vein. Apply the tourniquet proximal to the targeted area (Figure 8.3). When possible, look distally first to allow additional proximal attempts on the same extremity, if necessary. Once the tourniquet is applied, you can have the patient pump his/her fist open and closed several times to help the vasculature become engorged. Feel for a soft, spongy, non-pulsatile vessel. Figure 8.3 Position of tourniquet proximal to target vein. Use an alcohol pad, betadine, chlorhexadine, or a similar antiseptic product to clean the proposed IV site. Allow the area to dry. Hold the skin taut with one hand while inserting the needle with your dominant hand. Approach the vessel as shallow as possible (less than 30° angle to the skin) with the bevel of the needle facing up or away from the patient. Once you feel a “pop” and/or see a flash of blood in the reservoir of the IV needle, advance the needle slightly further and slowly slide the catheter over the needle, cannulating the vessel with the plastic catheter while not moving the needle itself (Figure 8.4). Figure 8.4 “Flash” of blood indicating that the needle is within the vein’s lumen and the catheter should be advanced over the needle. Hold firm pressure over the tip of the cannulated plastic catheter while you withdraw the needle from the hub of the catheter. If applicable, push the button to retract the needle to its safe position and move the needle to a safe area. The needle needs to be disposed of in a sharps container as soon as the IV is secured. Attach the saline lock and flush the lock with saline or attach IV fluid tubing directly to the hub of the catheter. Secure the catheter hub with tape or a commercial securing device. Check for signs of infiltration (i.e. localized swelling, inability to flush catheter, pain). External jugular vein access has a similar technique. The needle is inserted in a caudad direction, but no tourniquet is used. Instead, the index finger of the non-dominant hand can be used to apply gentle pressure to the external jugular vein just above the clavicle to facilitate venous engorgement. Care should be taken to avoid placing a needle puncture too low in the neck (i.e. at or immediately above the clavicle) to avoid lung injury. Blind attempts when the external jugular vein is not readily apparent are not advised due to potential for serious injury to surrounding structures (Figure 8.5). Figure 8.5 External jugular vein.
Vascular access
Introduction
Benefits
Risks
Peripheral IV access
History
Technique (Video Clip 8.1)
1. Preparation
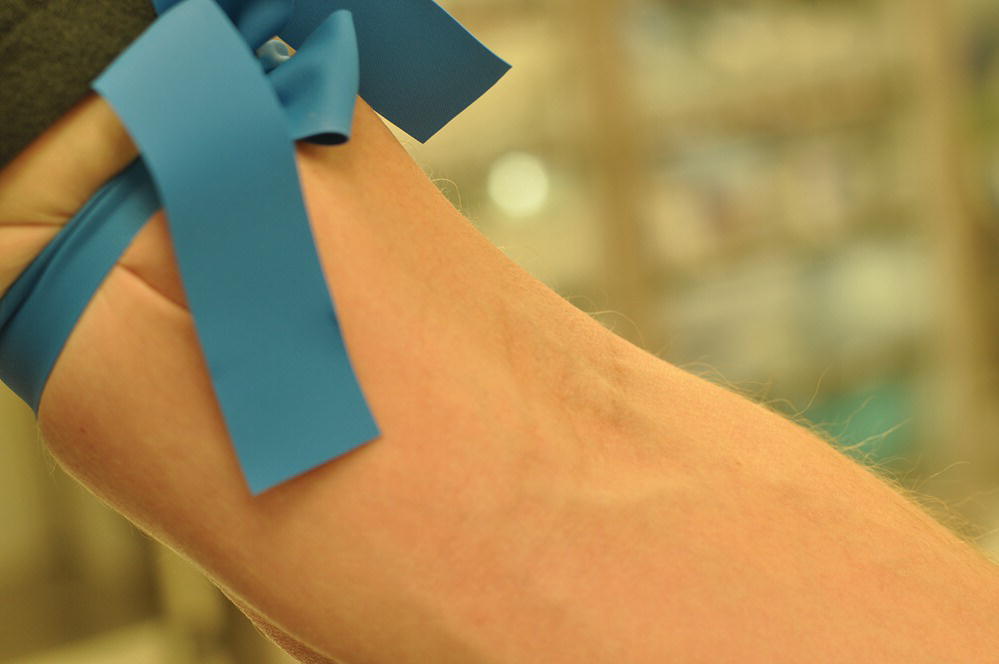
2. Site selection
3. Clean the site
4. Insertion of the IV
5. Removing the needle
6. Securing the IV
Related posts:


Stay updated, free articles. Join our Telegram channel

Full access? Get Clinical Tree


