Fig. 11.1
Vein – Catheter ratio
The diameter of the vein should be measured without tourniquet.
If the desired diameter cannot be found in the ideal zone for upper arm needle insertion with ultrasound guidance [4] on the upper arm, you can choose for tunneling to a more appropriate exit site.
11.6 Vein Access
For getting access to the desired vein, you can use two types of probes or transducer.
A linear probe can be used for PICC insertion or a T-probe (Fig. 11.2).
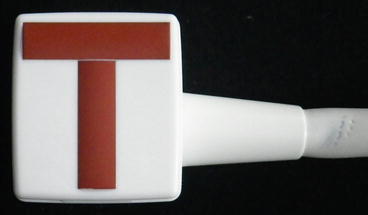
Fig. 11.2
T-probe with double image
The most frequent used probe is the linear probe that allows you switch between in-plane (Fig. 11.3) and out-of-plane approach (Fig. 11.4). Both options are used by clinicians. Personal preference is mainly based on training. The T-probe (Fig. 11.4) gives you two images at the same time without the need to turn the probe during vein access and has an in- and out-of-plane image on the screen.
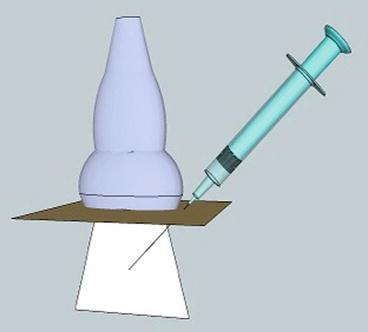
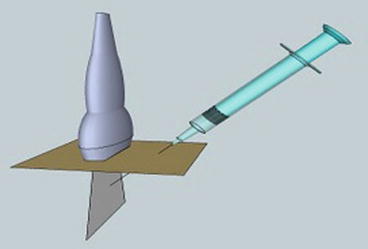
Fig. 11.3
In plane (with permission of Dr Rafiq Mikhael)
Fig. 11.4
Out of plane (with permission of Dr Rafiq Mikhael)
Particularly during the initial training period, a needle guide can help to position the needle very precisely in the beam and have better visualization of vein entry. Most clinicians do not use a needle guide anymore after they have sufficient control of the ultrasound and the complete procedure. The angle of the needle should be lowered to allow the guidewire to enter the vein more easily even in a small vein. The bevel or opening of the needle should always point forward.
The use of a tourniquet creates counterpressure and increases resistance in the vein preventing the needlepoint from compressing the vein before penetrating the vein wall. Increased vein pressure enlarges the diameter at the time of vein puncture resulting in a higher success rate for vein access.
Ultrasound should be used at all times during vein access and can also confirm the guidewire being in the vein.
11.7 PICC Advancing
Depending on the size of the PICC, the flexibility of the catheter, and the condition of the veins, the risk of obstruction during advancement of the PICC is real. To be in control of the situation and to allow the PICC to go with the blood flow, advancing the catheter should be done slowly. When the tip of the PICC is in the axillary vein, the patient should move the ear towards the shoulder of the side of insertion. By bending the jugular vein away, the tip should go towards the SVC. In most cases of bedside PICC procedures, a PICC can be supported with a stylet or stiffener in the catheter to prevent easy kinking or looping of the PICC. The stiffener can be advanced till 1 cm before the distal opening. The stiffener has a sharp point and can cause vein rupture if pointing out of the tip of the PICC. If a double- or triple-lumen PICC is still coiling despite of the stiffener, the guidewire can be introduced in the other lumen to have an even stiffer catheter. Of course the guidewire should have at least 1 cm on the outside on the proximal end to be able to remove the wire after tip positioning.
Related posts:
 Venous Access Devices and Emotional Response in Oncologic Patients: Diagnostic and Management Aspects
Peripheral Inserted Central Catheters: Medicolegal Aspects
Venous Access Devices and Emotional Response in Oncologic Patients: Diagnostic and Management Aspects
Peripheral Inserted Central Catheters: Medicolegal Aspects
 Clinical Problems Associated with the Use of Peripheral Venous Approaches in Clinical Practice: Thrombosis
The PICC Team
Clinical Problems Associated with the Use of Peripheral Venous Approaches in Clinical Practice: Thrombosis
The PICC Team
 The “Off-Label” Use of PICCs
BI-RADS for Ultrasound
The “Off-Label” Use of PICCs
BI-RADS for Ultrasound
Stay updated, free articles. Join our Telegram channel

Full access? Get Clinical Tree


