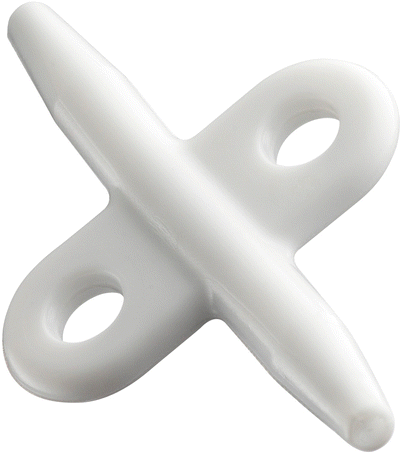
Fig. 10.1
Anchoring and suturing technique. Proper needle placement (a). Proper placement of the surgical lead (b). Proper placement of the anchoring device at the fascia entry point (c). Suturing of the anchoring device (d) employing the Deer-Stewart suturing technique, showing three interrupted sutures in the middle of the anchor and figure-of-eight sutures at the distal and proximal anchor ends. The figure-of-eight sutures are numbered based on needle entry
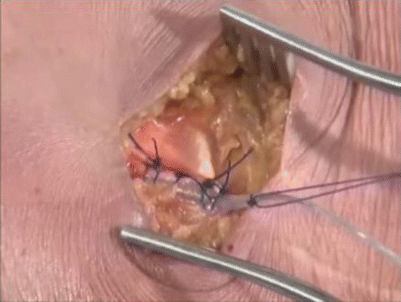
Fig. 10.2
Anchoring to fascia and ligament
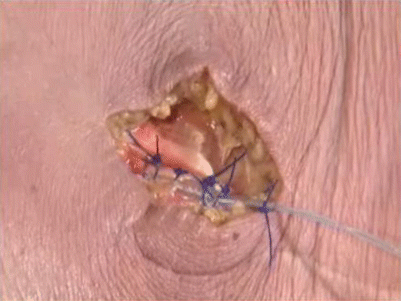
Fig. 10.3
Anchoring to the fascia and ligament
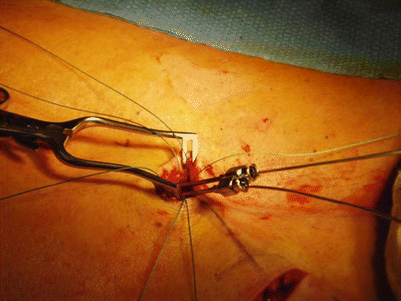
Fig. 10.4
Sutures may be placed in the fascia and ligament prior to removing the needles, in order to protect the leads
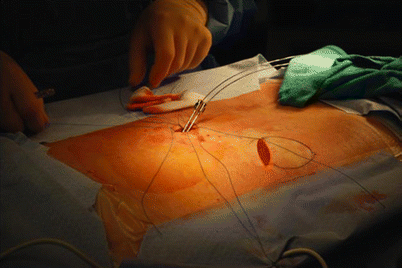
Fig. 10.5
Dual needles are seen with a pocket created prior to anchoring to allow for observation of hemostasis prior to closure
Anchoring can be a challenge in some patients who tend to be more technically difficult. Patients in this category may include those with uncontrolled diabetes, morbid obesity, a history of multiple spine surgeries, or poor tissue health secondary to cachexia. Attention to detail will be critical in this patient group.
When the needle and stylet are removed, careful attention should be given to maintaining the lead position. This portion of the procedure should be confirmed with fluoroscopic views taken before and after the needle and stylet have been removed to ensure that the position remains consistent. At this point, an anchor is moved over the lead to the entry point of the lead into the fascia or ligament (Fig. 10.6). The anchor should be brought forward so that no slack exists between the anchor and the lead. In some settings, the physician can improve this situation by making an incision around the needle before removing it. This incision will allow the anchor to slide into the ligament. At this time, additional sutures may be placed, based on the type and manufacturer of the anchor chosen. Some clinicians prefer a single suture, whereas others prefer multiple sutures to avoid lead movement. New anchoring methods are available for those who have challenges in suturing or who prefer uniformity in suture spacing. In addition to securing the anchor to the tissue, it is important to secure the lead to the anchor, which can be done by using surgical ties (or preferably mechanical anchors) to secure the lead (Fig. 10.1).
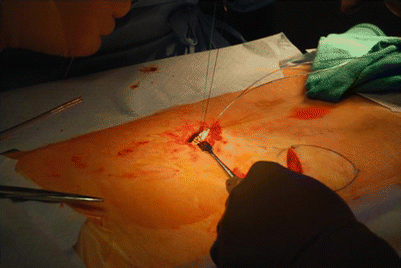

Fig. 10.6
Anchors should be abutting the fascia prior to securing them to the spine
Some anchor models are equipped to mechanically lock onto the lead to prevent the lead from moving despite a secure, immovable anchor. The Clik™ anchor (Boston Scientific, Natick, MA) is a locking anchor that is placed over the lead (Figs. 10.7 and 10.8). The company recommends first securing the lead to the fascia before locking the lead in place. This lead has a screw lock system, which is tightened using a screwdriver until it “clicks.” The lead can be locked and unlocked by turning the screw. Medtronic (Minneapolis, MN) has introduced two new compression-fit anchors (Injex®), which come as either a bi-wing design (Fig. 10.9) or a bumpy design (Fig. 10.10). The lead comes preloaded on a dispenser tool (Fig. 10.11). The anchor and dispenser tool are placed over the lead, the anchor slides into place, and the dispenser tool locks the anchor onto the lead. The anchor and lead are then secured to the fascia. St. Jude Medical (St. Paul, MN) has introduced the Swift-Lock™ anchor. This is a cigar-shaped anchor that is placed over the lead. The anchor is then secured to the fascia. Using either fingers or hemostats, the anchor is rotated until two triangles line up to indicate that the anchor is locked to the lead. The anchor can be unlocked by reversing the twist direction (Fig. 10.12). When using these systems, attention must be paid to avoid tension on lead components that can damage and eventually fracture the lead. When using these types of anchors, it is also important to carefully secure the anchor to the tissue so that the anchor itself will not shift.
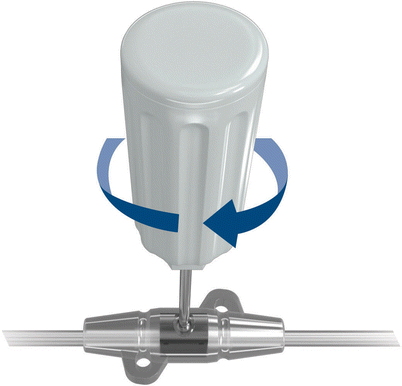
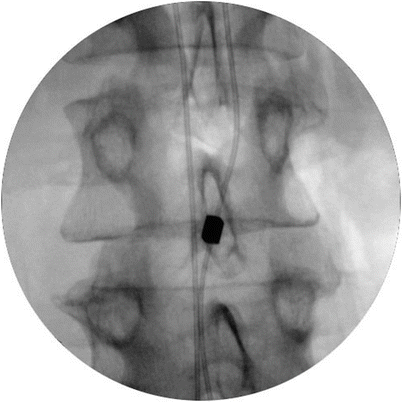

Fig. 10.7
Clik™ anchor with hex wrench

Fig. 10.8
Fluoro image of Clik™ anchor
